THE SEAT....

This has been a VERY long chapter in this bikes' build. I guess I'll let the cat out of the bag in that I am FINALLY going to be using Aylors Fiberglass Early H1 tank.

I bought it from John about 5 years ago, sold it to a friend, and then bought it back again about 2 or 3 years ago.
Tank itself was fairly easy to fit. I just cut the stock S3 rubber puck-mounts off the frame and rewelded them to to the horizontal tubes.

These now sit in the indentations John molded into the tank. The front of the tank is held in place by a single 6mm acorn nut, and the rear of the tank is held (locked) in place by the seat..... It turned out really well.

Since Im using the early H1 style tank, I felt it had to have an early H1 style seat....or at least a nice tribute.
I started with one of my rusty early H1 seat pans/foams just to see what it might look like.. Hmmm? Chop 4" out of the front of the pan, weld on S3 hinges (so I can access oil tank/electrics/ect)
That might work.


Used part of a phillips screwdriver (from a Honda CL350 Tool Kit..

) to make the "catch" that the stock early H1 seat latch holds on to.

Once I could picture it in the minds' eye, I went ahead and made some paper templates to follow the contour of the S3's frame.

I then ran up to my buddy's shop and used his plasma cutter to make the extensions out of steel, tigged them to the pan and then cut away the old rusty crap. I didn't think to take any photos of the finished pan, but it turned out excellent. In the front of the pan is a molded "cup" that holds down a rubber bumper fixed to the rear of the Gas tank. It keeps it centered and very well secured.
Next, I ordered a new reproduction foam and proceeded to chop about 4" out of the front...

I didn't like it....

So after some strategic glueing and grinding, I came up with "this"... Kinda sorta a Giuliari/Early H1 Hybrid...

Tools of the trade (not shown is 3M spray adhesive)

One of the things I knew had to happen was the tail light had to be an intergral part of the seat. THIS turns out was the most difficult and time consuming part. This seat has been re-upholstered 4 times now.... Seriously.

I'm finally happy with it.
Version 1.0 (Original Foam with Buell X1 Lightning Tail)

Version 2.0 (KH750-esqe tail light in unmodified new early H1 foam) **You can see in this pic the newly welded side/rear pan extensions**

then the search began... Knowing this bike was going to be mostly "Blacked-Out", I started looking online for a Black LED tail light. After a bunch of photoshop cut-n-paste, I found what I think is a really cool light. It is repop for a Honda CBR1000XX Blackbird. I wanted it to look like it was growing out of the seat...

Im happy with that!
And the coolest thing about this light is that it has Intergral Turn signals...and uses little to no power since it is L.E.D.
Running Light

Brake Light

Right Turn

Left Turn

And off once again....

and a couple of side views..


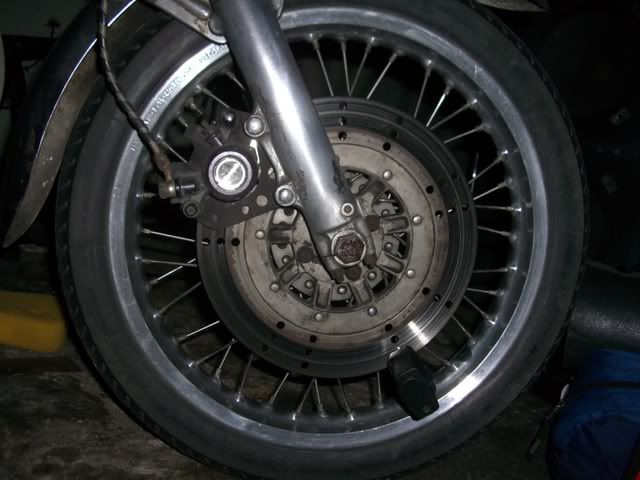
I wasn't planning on using Gold '69 Piping, but since the Ti-Ni'd front fork tubes... well, uh... it needed some more Gold. And no, the bike isn't going to be painted midnite white. Final touch was "modifying" some stock stainless trims (sorry to the purists

)
I just used a hacksaw to cut to length, bent them by hand and a vise (to take the "Z" shape out of them) and re-hammered the cut end into a tapered-round shape like original using the ball peen hammer my dad made in 8th grade and a piece of rail road track....


So thats pretty much it!!!! I still haven't decided if I'm going to stencil KAWASAKI on the back???


Now I've got to get back to workin on those fork ears...