[url][/url][
][/img]
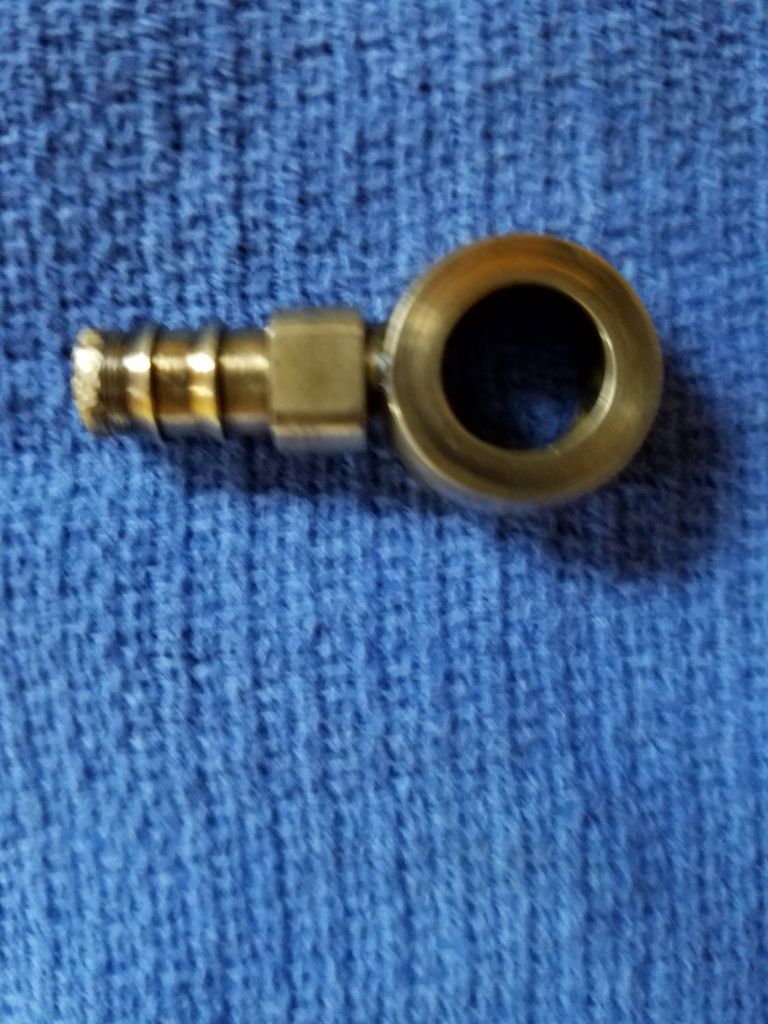
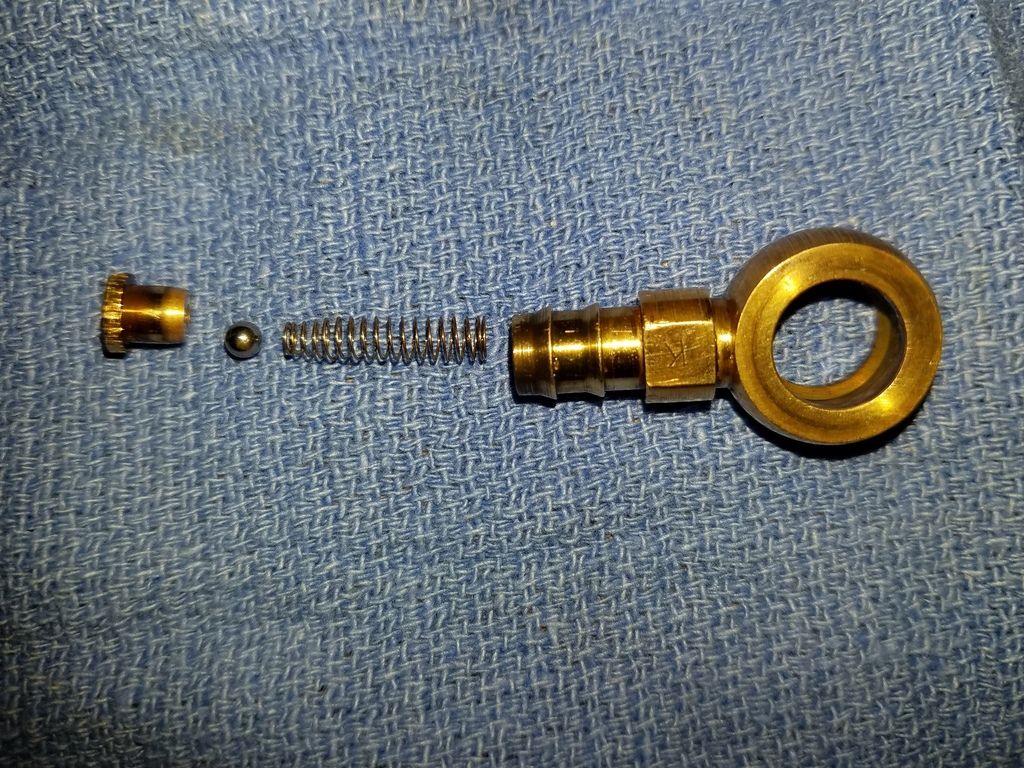
the non rebuild able check valve notice the left side the seat is chewed up from being taking off a few times[
][/img]
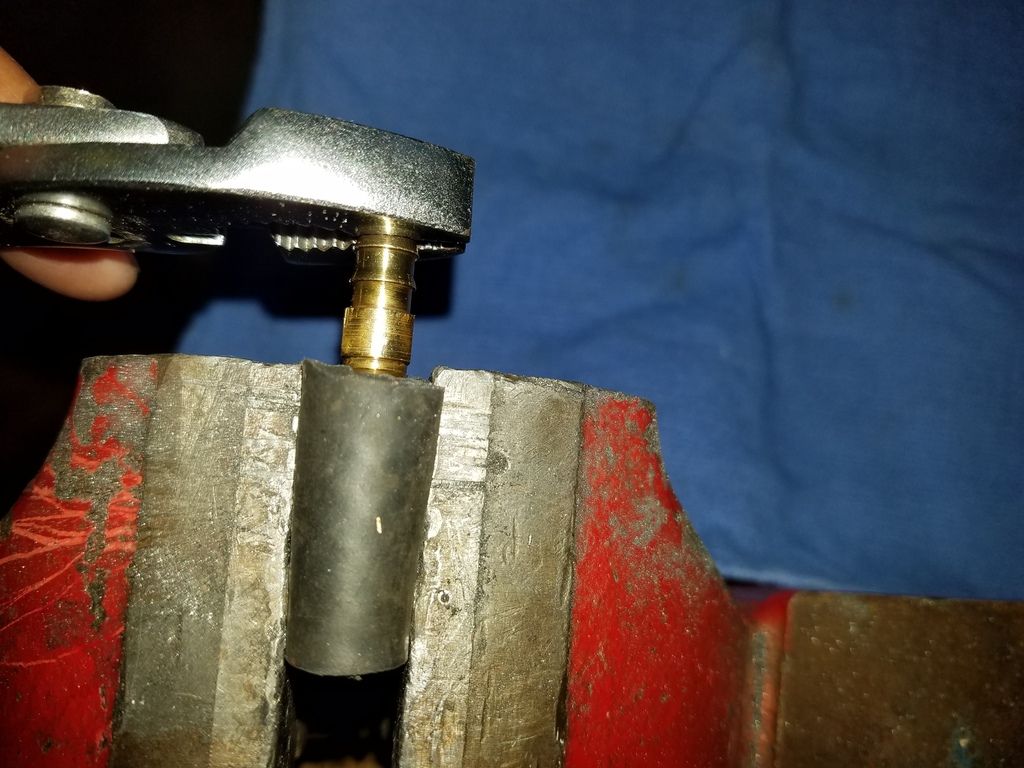
grab the seat with a pair of pliers, get a pair that has teeth to grab onto the seat, using the tip of the pliers will only slip off
[
][/img]
it looks like this after it's apart, the seat is on the left.
[
][/img]
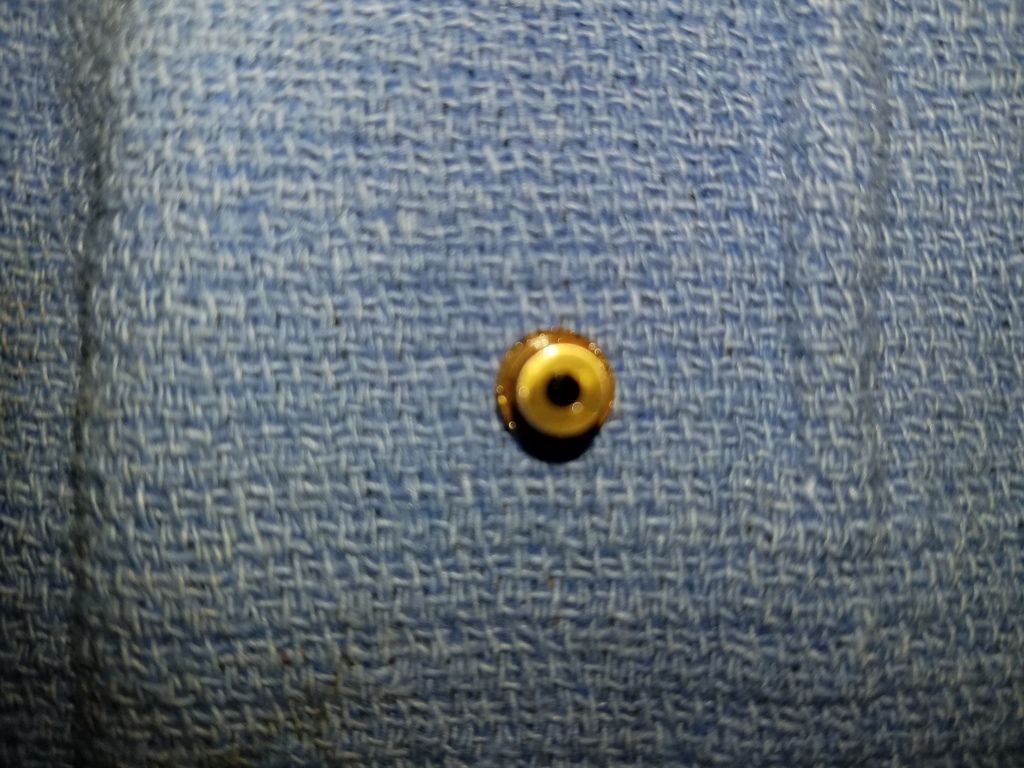
the ball sits on the seat
[
][/img]
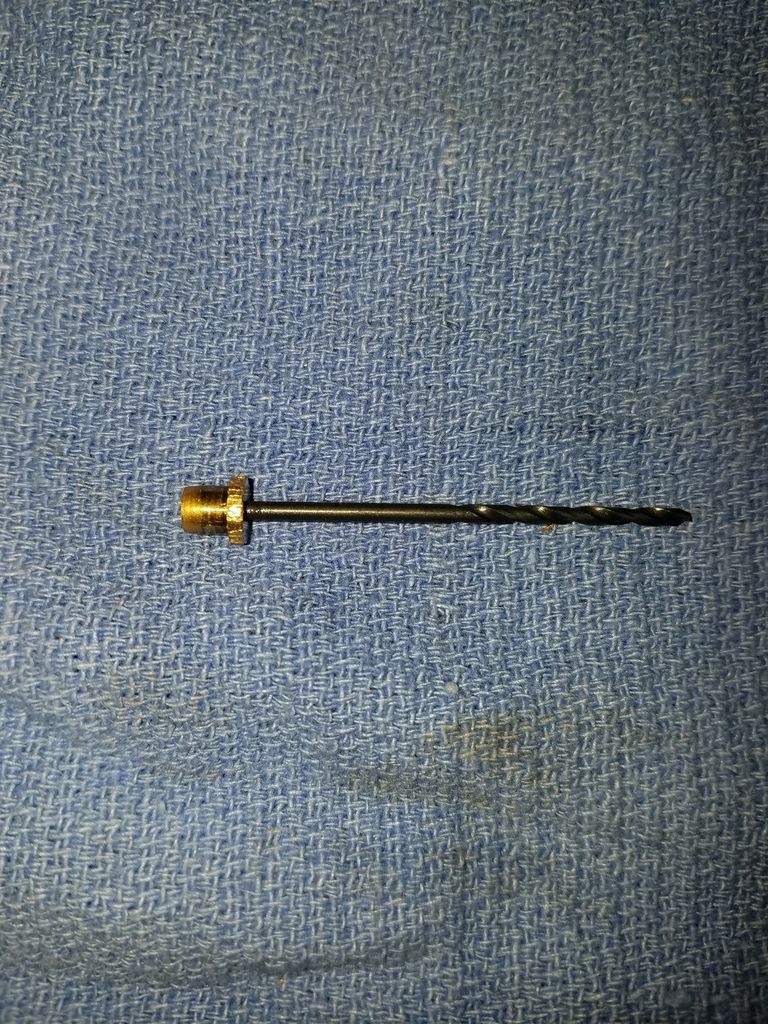
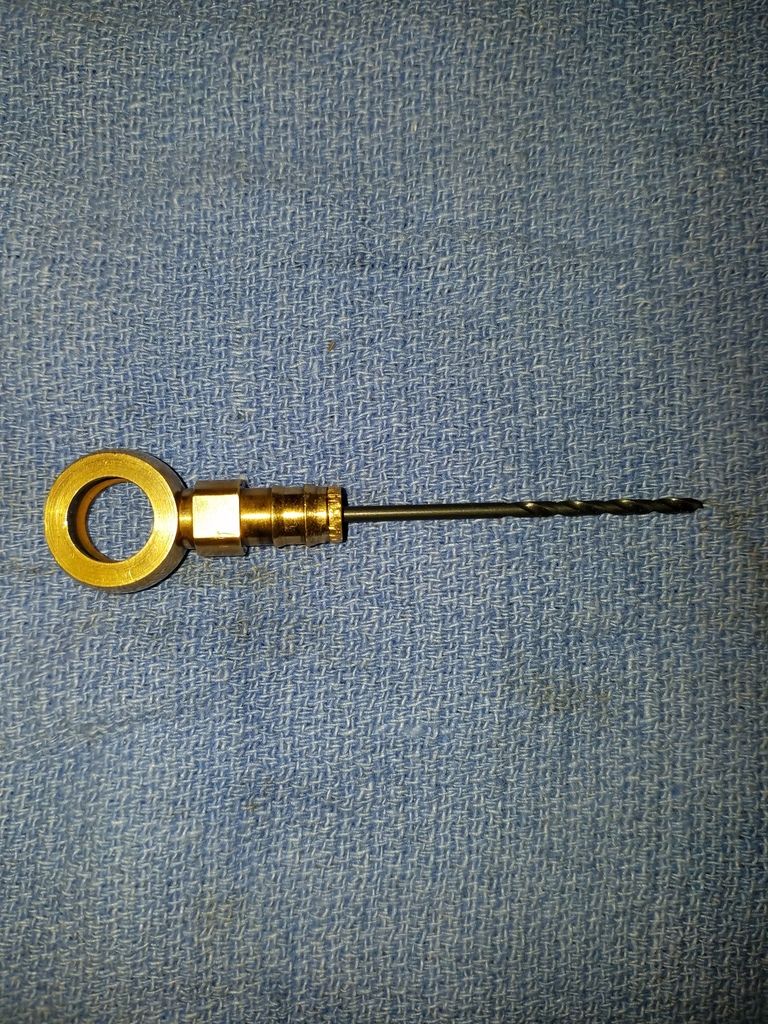
you can use the drill bit to clean out the oil passage then turn it around to help grab onto the seat when cutting a new seat
[
][/img]
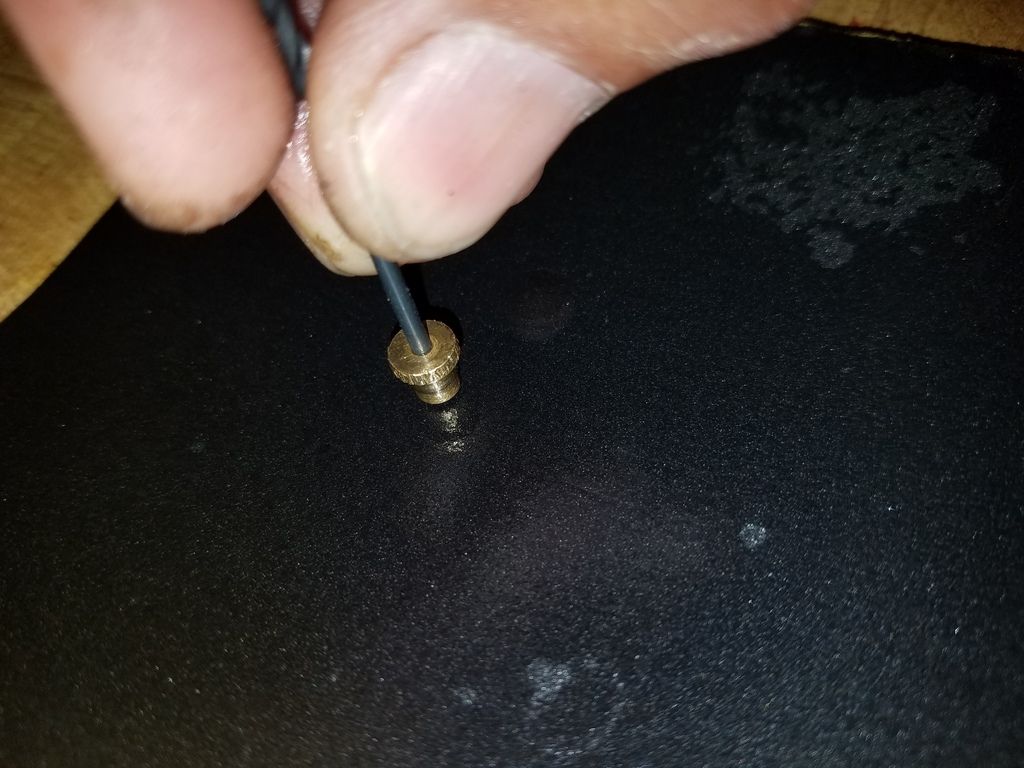
the seat is faced down, grab the bit and seat and draw it back and forth a few times pull the drill bit up a little so it doesn't drag. You can move your fingers down just showing you what it looks like before you start
[

][/img]
the center hole of the seat should look nice and sharp. Polish and put back together.
[
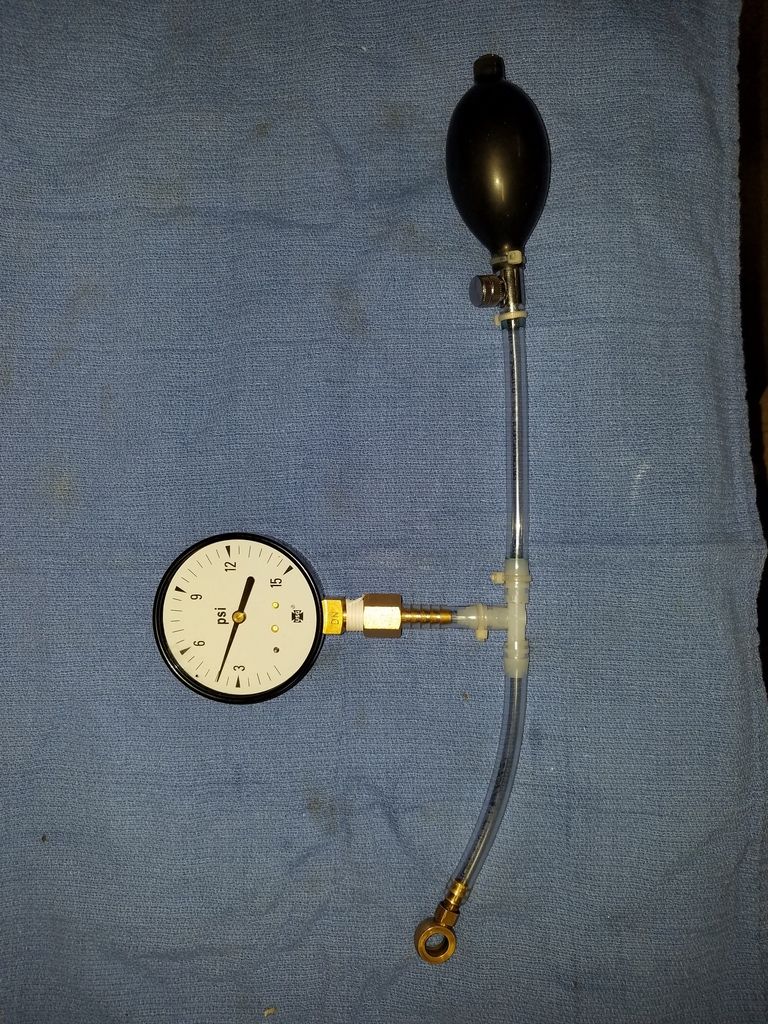
][/img]
test it with the pressure gauge.
[
][/img]
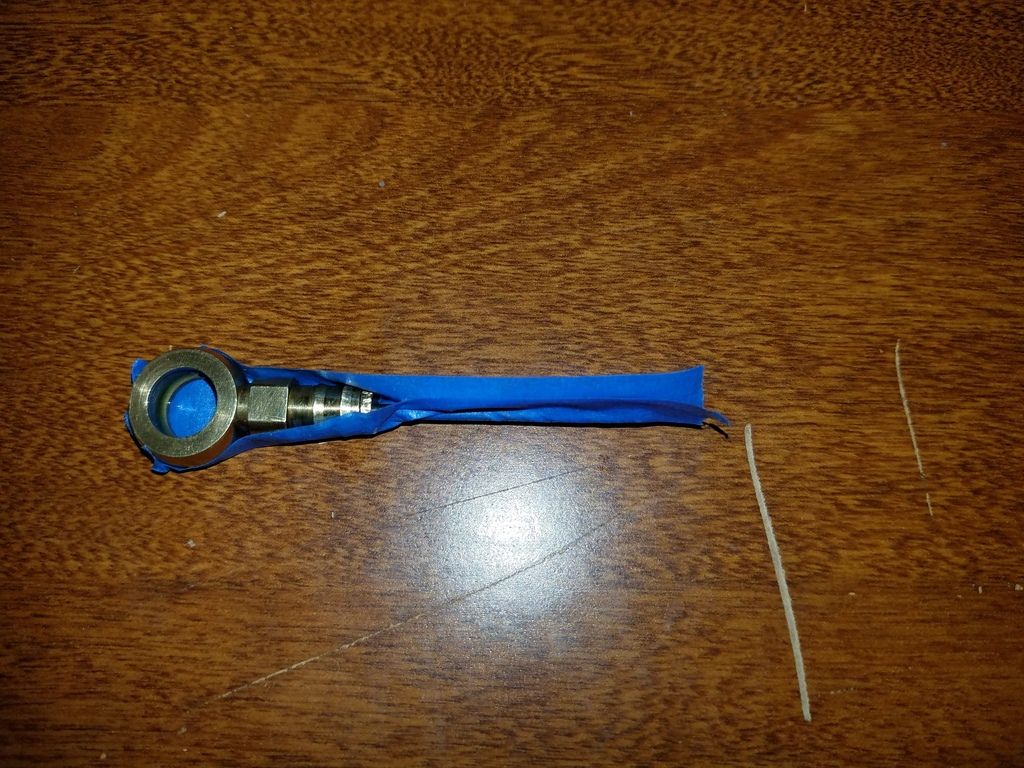
if it pops before 4.6 psi you have to take it apart and stretch the spring, if it pops past 4.6 psi you'll have to compress the spring, put the drill bit in backwards and push down softly then tape the bit down to keep it compressed.
[
][/img]